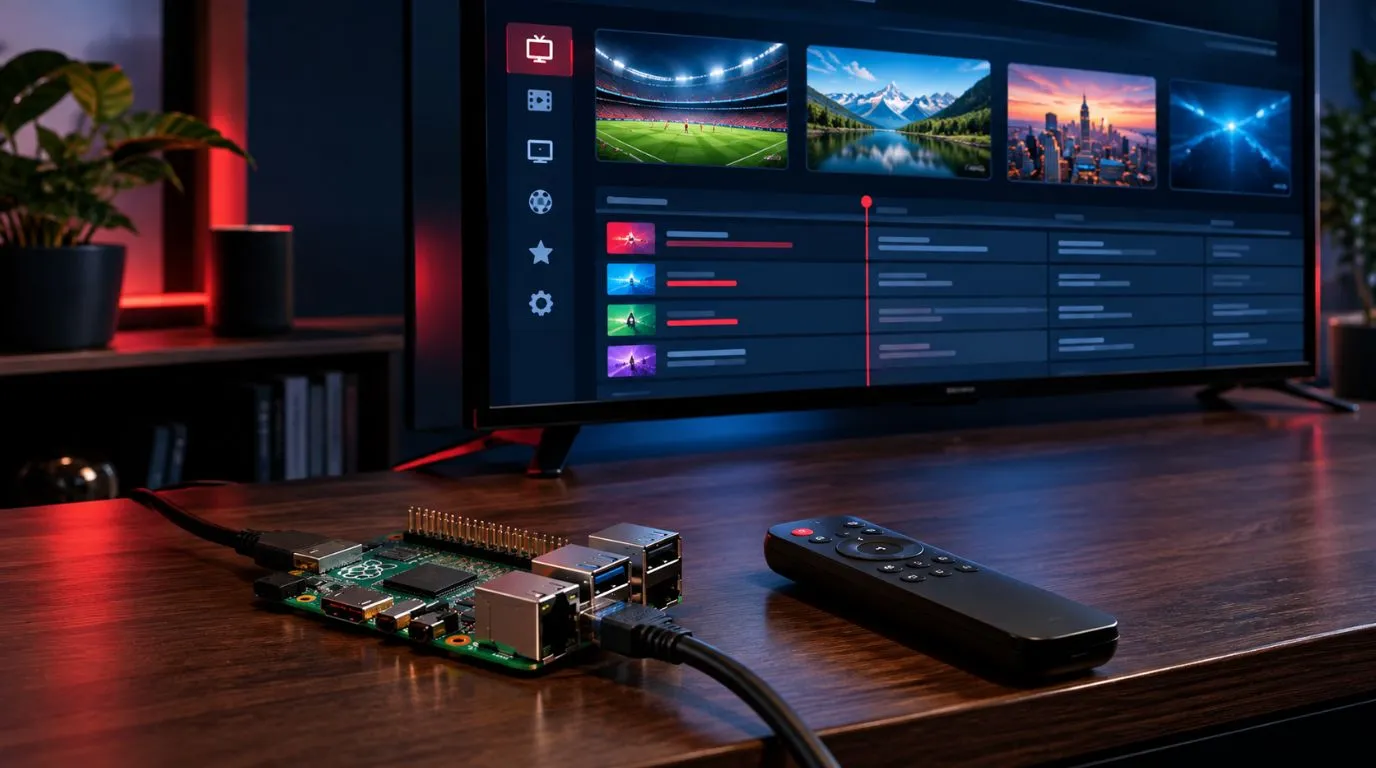
A Raspberry Pi can be a practical way to watch IPTV on a TV, especially if you already own the hardware and want a flexible, Linux-based media setup. With the right operating system, IPTV player, network connection, and playlist, you can turn a Raspberry Pi into a compact streaming device.
The exact experience depends on the Raspberry Pi model, player software, stream format, and network quality. Newer boards such as the Raspberry Pi 4 and Raspberry Pi 5 provide a stronger foundation for demanding playback, while older models may require more careful configuration.
This guide explains how to use IPTV for Raspberry Pi, including the hardware you need, player options, playlist setup, Raspberry Pi 5 considerations, and common playback problems.
Table of Contents
Can You Use IPTV on a Raspberry Pi?
Yes. A Raspberry Pi can play IPTV streams through compatible media software.
The Raspberry Pi runs an operating system such as Raspberry Pi OS, which provides a Linux desktop environment and access to media applications. Raspberry Pi OS includes VLC Media Player in its standard desktop edition, and Raspberry Pi’s documentation specifically describes VLC as a way to play audio and video on the platform.
For a typical living-room setup, the basic connection looks like this:
IPTV service → internet connection → Raspberry Pi → HDMI → TV
You will also need an IPTV playlist or service that provides access to the channels you are authorized to watch. Depending on the player, this may be supplied as an M3U playlist URL or a local playlist file.
The Raspberry Pi itself does not provide TV channels. It acts as the playback device.
What You Need for IPTV With Raspberry Pi
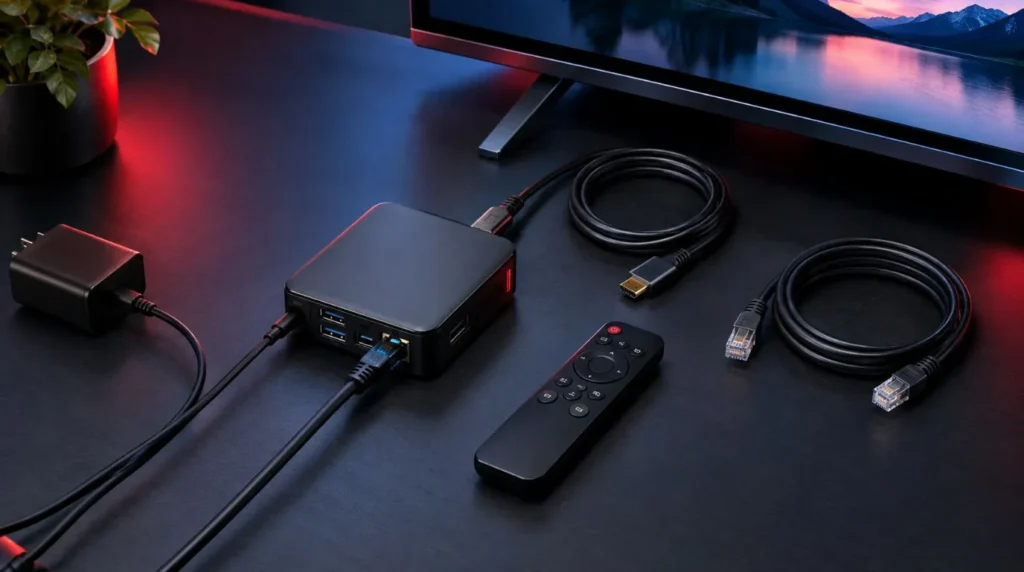
Before installing anything, prepare the hardware and software that will form your streaming setup.
Raspberry Pi
A Raspberry Pi 4 or Raspberry Pi 5 is a sensible starting point for a dedicated IPTV setup. Other models may work depending on the stream format and playback requirements, but performance can vary considerably between generations.
If you already have an older Raspberry Pi, there is no need to replace it automatically. Test your intended player and streams first.
Raspberry Pi OS
Raspberry Pi OS is the official operating system for Raspberry Pi computers. The desktop edition provides a graphical interface and includes applications such as VLC, while Lite is designed for command-line-only use and is generally less convenient for a simple TV playback setup.
For a straightforward IPTV installation, a desktop version is usually easier because you can configure the player directly from the graphical interface.
Raspberry Pi provides Raspberry Pi Imager for installing the operating system onto a microSD card.
HDMI connection
Connect the Raspberry Pi to your TV or monitor using the appropriate HDMI cable or adapter for your model.
Audio can also be sent through HDMI. Raspberry Pi documentation notes that models with HDMI, micro HDMI, or mini HDMI support HDMI audio output.
Stable internet connection
Live IPTV depends on a continuous stream, so network stability matters.
Ethernet is often a practical choice for a stationary Raspberry Pi next to a TV because it removes variables associated with wireless signal strength. Wi-Fi can also work well when the Raspberry Pi has a strong, stable connection.
Suitable power supply
Use an appropriate power supply for your Raspberry Pi model. This is particularly important with the Raspberry Pi 5.
Raspberry Pi recommends a 27 W USB-C power supply for the Raspberry Pi 5, while different models have different power requirements.
A power problem can create symptoms that look like software or playback issues, so it is worth getting the hardware basics right before troubleshooting the IPTV player.
Choosing an IPTV Player for Raspberry Pi
The player you choose determines how you load playlists, access channels, and manage the viewing experience.
Two common approaches are VLC and Kodi.
VLC on Raspberry Pi
VLC is one of the simplest options if your main goal is to open and play a stream or playlist without building a full media-center interface.
Raspberry Pi OS includes VLC in its standard desktop edition, and Raspberry Pi’s documentation confirms that VLC supports hardware acceleration on Raspberry Pi OS.
VLC can make sense when you want:
- A relatively simple media player
- Local or network-based media playback
- A lightweight interface
- Direct control over playback
- A quick way to test whether a stream works
The exact playlist and stream features available can depend on the VLC version and how your IPTV provider supplies its content.
Kodi and IPTV Simple Client
Kodi is a better fit if you want a more traditional TV-style interface.
Kodi’s official IPTV Simple Client add-on supports M3U playlists for live TV and XMLTV-based EPG data. It can therefore provide a more organized channel and program-guide experience than simply opening individual streams in a media player.
Kodi can be useful if you want:
- A TV-oriented interface
- Channel organization
- An electronic program guide
- M3U playlist support
- A media-center setup
For users who want a Raspberry Pi to behave more like a dedicated television device, this approach can be more convenient.
How to Set Up IPTV on Raspberry Pi
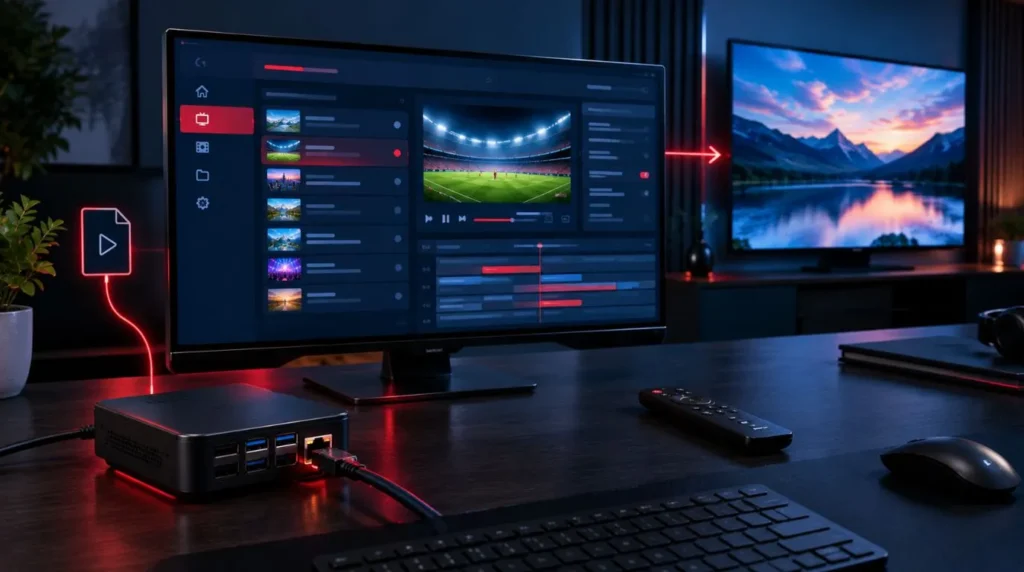
Once the hardware and software are ready, the setup can be broken into a few straightforward stages.
Step 1: Prepare Raspberry Pi OS
Install Raspberry Pi OS using Raspberry Pi Imager and boot the Raspberry Pi.
Complete the initial configuration, connect it to your network, and install available system updates.
For a TV-oriented setup, the desktop edition is generally easier because you can operate the IPTV software with a mouse and keyboard before adding a more convenient remote-control solution.
Raspberry Pi currently provides both 32-bit and 64-bit versions of Raspberry Pi OS for compatible hardware, with newer models such as Raspberry Pi 4 and Raspberry Pi 5 supported by the 64-bit edition.
Step 2: Choose and Install Your Player
For a simple setup, start with VLC.
For a more traditional live-TV experience, consider Kodi with IPTV Simple Client.
If you use Kodi, IPTV Simple Client is installed from Kodi’s add-on browser under the PVR clients section.
Your choice should depend on how you intend to use the Raspberry Pi.
If you mainly want to test streams or play individual media sources, VLC can be sufficient. If you want channels, categories, and an EPG integrated into a TV-style interface, Kodi may be more appropriate.
Step 3: Add Your IPTV Playlist
Your IPTV provider may give you an M3U playlist URL or another supported configuration method.
An M3U playlist contains references to the streams that your player can load. The playlist itself does not magically create channels; it provides the information the player needs to access the streams supplied by your IPTV service.
With Kodi’s IPTV Simple Client, the M3U playlist is configured as the live-TV source. The add-on also supports XMLTV data for an electronic program guide.
Use the playlist and credentials provided by a legitimate service you are authorized to use. Avoid downloading random channel lists from unknown websites.
Step 4: Configure the EPG if Available
An EPG, or electronic program guide, can make a large IPTV playlist much easier to navigate.
If your service provides compatible EPG data, configure it in the player that you are using.
Kodi’s IPTV Simple Client supports XMLTV EPG sources and can associate program-guide information with channels in an M3U playlist.
EPG data is optional. You can still watch streams without a program guide if your player and playlist support that configuration.
Step 5: Test Several Streams
Do not assume that one successful channel proves that the entire setup is working perfectly.
Test several streams, preferably from different categories or quality levels.
Check:
- Whether playback starts quickly
- Whether video and audio stay synchronized
- Whether the stream freezes
- Whether the picture quality is stable
- Whether changing channels works normally
If only one stream fails while others play normally, the problem may be specific to that stream rather than the Raspberry Pi itself.
IPTV on Raspberry Pi 5
The Raspberry Pi 5 is particularly interesting for users building a dedicated IPTV or media setup.
It provides a newer hardware platform than earlier Raspberry Pi generations, but that does not mean every IPTV stream will automatically play perfectly. The actual result depends on factors such as resolution, codec, bitrate, player software, and the stream itself.
One useful hardware feature is H.265/HEVC hardware decoding. Raspberry Pi’s documentation states that H.265 hardware decoding is available on the Raspberry Pi 5 and is enabled by default.
That can be relevant when a stream uses a supported HEVC format, but it should not be interpreted as a guarantee that every 4K or high-bitrate IPTV stream will work without problems.
The Raspberry Pi 5 also deserves attention when it comes to power and cooling.
Raspberry Pi recommends a 27 W USB-C power supply for the Raspberry Pi 5. Its documentation also explains that active cooling can help reduce thermal throttling under sustained workloads.
For a Raspberry Pi 5 that will be used as a dedicated media device for long viewing sessions, appropriate power and cooling are therefore worth considering.
How to Improve IPTV Playback on Raspberry Pi
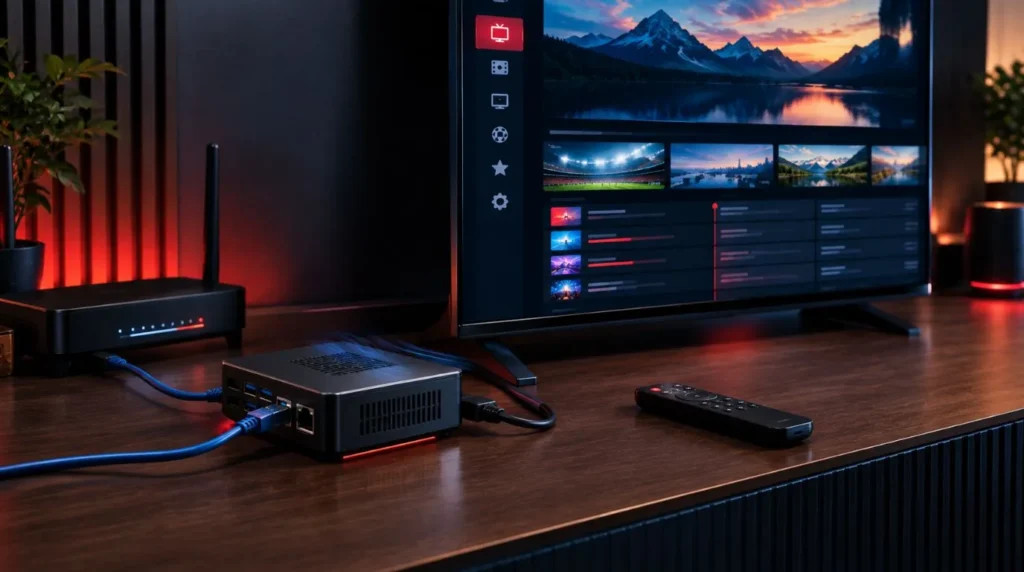
A good IPTV setup is not only about installing the player. Network and hardware configuration can affect the viewing experience as well.
Prefer Ethernet for a Fixed TV Setup
If your Raspberry Pi is located close to your router, Ethernet can be a useful option.
A wired connection removes Wi-Fi signal strength and wireless interference from the equation. It does not fix problems caused by the IPTV source itself, but it gives you a more predictable local network connection.
Keep the System Updated
Use the normal Raspberry Pi OS update process to keep your operating system and installed software current.
Avoid changing low-level video settings simply because a random guide recommends them. Modern Raspberry Pi OS releases already include support for hardware-accelerated playback in relevant applications such as VLC.
Pay Attention to Cooling
A Raspberry Pi can manage its temperature automatically, but sustained workloads can cause the processor to reduce its operating frequency when temperatures become high.
Raspberry Pi documents thermal throttling and notes that cooling can reduce thermal throttling and improve performance under load.
For Raspberry Pi 5, an active cooler or suitable ventilated case can be useful for a device that runs continuously.
Avoid Unnecessary Background Work
If the Raspberry Pi’s main purpose is IPTV, avoid running demanding applications or services at the same time unless you actually need them.
This is especially useful when diagnosing playback problems because it makes it easier to determine whether the issue comes from the IPTV stream, network, player, or local system load.
Troubleshooting IPTV on Raspberry Pi
Even with a correct installation, IPTV playback problems can happen. Start with the simplest possible diagnosis.
IPTV Keeps Buffering
First determine whether the problem affects every channel or only certain streams.
Check:
- Your internet connection.
- Wi-Fi signal strength if you are using Wi-Fi.
- Ethernet connectivity if available.
- Whether other streams play normally.
- Whether the problem occurs at specific times.
- Whether the same playlist behaves differently in another compatible player.
Buffering does not automatically mean that the Raspberry Pi is too slow. The stream’s bitrate, source server, network path, and local connection can all contribute.
For broader troubleshooting, you can also refer to ViviMate’s dedicated IPTV buffering guide when available.
A Playlist Loads but Channels Do Not Play
Check the playlist URL and any required authentication details.
If some channels work and others do not, the problem may be specific to those streams.
If nothing plays, verify that the playlist is still valid and that the IPTV service supports the player and stream format you are using.
Video Plays but Audio Is Missing
Check the player’s audio output settings and the TV or audio device connected to the Raspberry Pi.
HDMI is a common audio path for Raspberry Pi media setups, and Raspberry Pi OS allows audio output to be configured through the desktop audio controls.
If video works but audio consistently fails across different streams, the issue may involve audio codec compatibility or the selected output device.
Raspberry Pi Gets Hot
If the board becomes unusually hot during extended playback, check airflow and cooling.
Raspberry Pi systems include thermal management, but the official documentation notes that temperatures approaching the thermal limit can cause frequency reduction.
For a Raspberry Pi 5 used as a continuously running media device, active cooling is worth considering.
Kodi Does Not Show the EPG Correctly
EPG problems can occur even when the channels themselves work.
Check that:
- The EPG URL is correct.
- The XMLTV source is accessible.
- Channel identifiers correspond correctly.
- Time-shift settings are appropriate.
- The playlist and EPG source are compatible.
Kodi’s IPTV Simple Client documentation explains how M3U channel information and XMLTV data are associated for EPG functionality.
Is Raspberry Pi a Good Option for IPTV?
A Raspberry Pi can make sense if you want a customizable IPTV setup and are comfortable managing a small Linux computer.
It offers flexibility that a conventional streaming device may not, but that flexibility also means more configuration.
| Consideration | Raspberry Pi |
|---|---|
| Customization | High |
| Software flexibility | High |
| TV connection | HDMI |
| IPTV player choices | Multiple |
| EPG support | Available with compatible software |
| Setup simplicity | Moderate |
| Maintenance | User-managed |
| Dedicated-TV experience | Depends on the software and accessories |
The main advantage is control. You can choose your operating system, media software, network connection, and accessories.
The tradeoff is that you are responsible for configuring and maintaining the device.
If your priority is a highly customized IPTV environment, that can be worthwhile. If your priority is the simplest possible plug-and-play experience, a dedicated streaming device may require less configuration.
IPTV for Raspberry Pi: What to Check Before You Start
Before committing to a Raspberry Pi IPTV setup, make sure you have:
- A compatible Raspberry Pi
- A suitable power supply
- Raspberry Pi OS or another supported operating system
- An HDMI connection to your TV
- A stable internet connection
- An IPTV player such as VLC or Kodi
- A legitimate IPTV playlist or service
- EPG information if you want a program guide
- Adequate cooling for sustained workloads
If you are starting from scratch, the ViviMate IPTV setup guide can provide broader installation context before you return to the Raspberry Pi-specific configuration.
For readers who are still evaluating their IPTV setup, the IPTV subscription options can also be reviewed separately from the technical Raspberry Pi installation process.
The important point is that the Raspberry Pi is only one part of the system. Reliable IPTV playback depends on the combination of hardware, player software, playlist compatibility, network quality, and the stream itself.
Once those pieces are configured correctly, a Raspberry Pi can serve as a flexible IPTV playback device without requiring a conventional smart-TV platform.