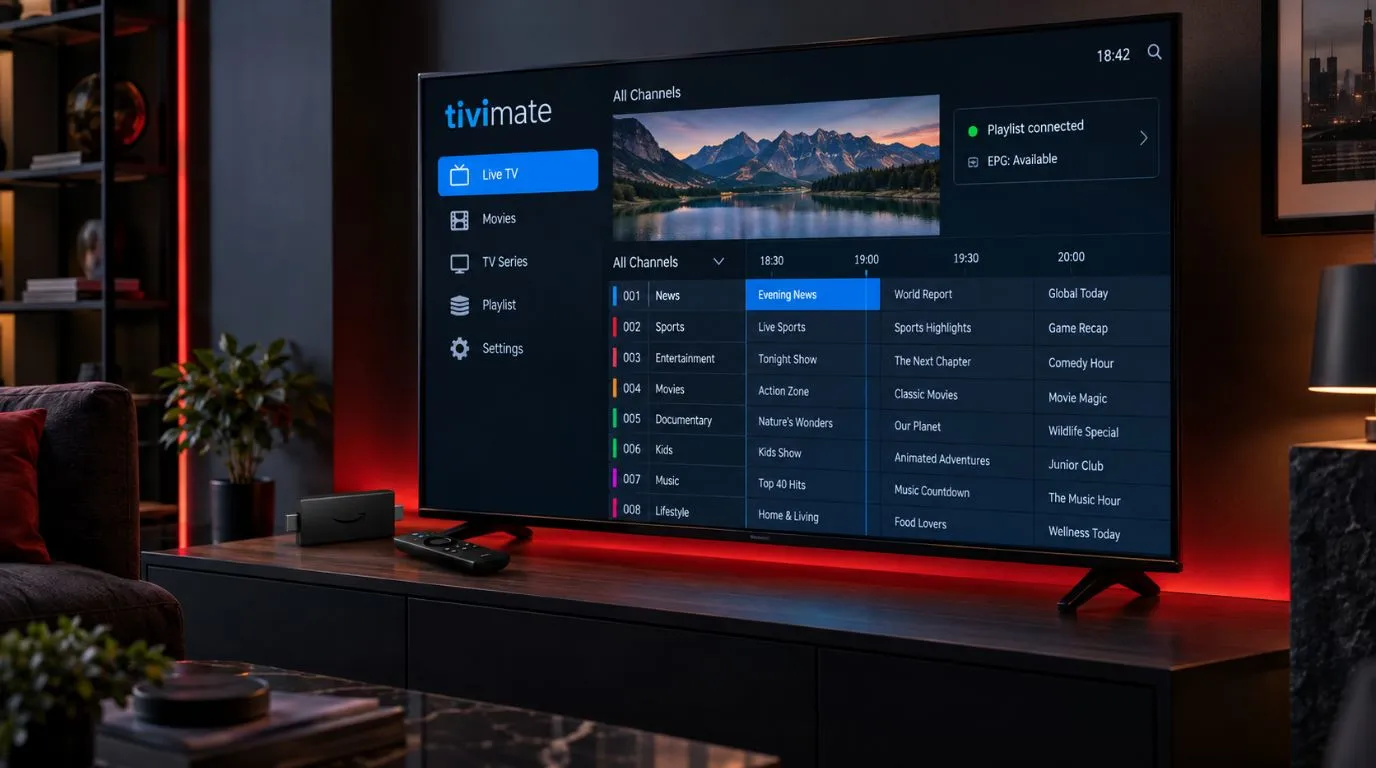
Setting up TiviMate is straightforward once you have the right information from your IPTV provider. The main process is to install the app on a compatible device, add your IPTV playlist or login details, configure the electronic program guide (EPG), and adjust a few playback and interface settings.
This guide walks you through a complete TiviMate setup, with particular attention to Fire TV and Android TV devices. It also explains how M3U playlists and Xtream Codes work, what to check when channels or the EPG do not load, and what Windows users should know about TiviMate compatibility.
If you are starting with the broader IPTV installation process, you can also use ViviMate’s IPTV setup guide.
Table of Contents
Before You Start Your TiviMate Setup
Before opening TiviMate, make sure you have everything needed to connect your IPTV service.
You will generally need:
- A compatible Android TV, Google TV, Fire TV, or other supported device
- The TiviMate app
- An active IPTV service or playlist
- Your IPTV username and password, if your provider uses Xtream Codes
- An M3U playlist URL, if your provider uses M3U
- An EPG URL, if your provider supplies one separately
- A reliable internet connection
The most important distinction is that TiviMate is an IPTV player, not the IPTV service itself. TiviMate provides the interface used to organize and play your channels, while your IPTV provider supplies the playlist, credentials, channel data, and, where available, EPG information.
If you have not selected a service yet, you can explore ViviMate’s information about IPTV services separately rather than mixing provider selection with the setup process.
What Information Do You Get From Your IPTV Provider?
Your provider may give you one of several types of connection information.
| Information | What it does |
|---|---|
| Xtream Codes login | Uses a server address, username, and password to load your service |
| M3U URL | Provides a playlist containing channels and other available streams |
| EPG URL | Provides program-guide information for compatible channels |
You do not necessarily need all three. Use the method and information supplied by your provider.
Never guess a server address or credentials. If the information you received does not work, contact the provider that issued it.
How to Install TiviMate on Firestick
A major part of a TiviMate Firestick setup is getting the app onto your Fire TV device before adding your IPTV service.
Amazon’s current Fire TV setup process requires the device to be connected to your TV, connected to the internet, and associated with an Amazon account before you can download and use apps.
Prepare Your Fire TV Stick
If your Fire TV Stick is already working, connected to Wi-Fi, and signed in, you can move directly to installing the application.
For a new device:
- Connect the Fire TV Stick to an available HDMI port.
- Connect its power supply.
- Turn on the television and select the correct HDMI input.
- Connect the Fire TV Stick to your Wi-Fi network.
- Sign in with your Amazon account.
- Complete the initial Fire TV setup.
Amazon maintains device-specific setup instructions because Fire TV hardware and software versions can differ.
Install TiviMate on Firestick
The exact availability and installation path can depend on your Fire TV model and current software environment. Amazon’s Fire TV platform has also evolved, with newer hardware using different operating-system technology than older Fire OS devices.
Use the current official TiviMate distribution method available for your device rather than relying on an outdated installation tutorial.
Once TiviMate is installed:
- Open the app from your Fire TV applications.
- Allow it to finish its initial loading process.
- Select the option to add a playlist when prompted.
- Choose the playlist method provided by your IPTV service.
- Enter the requested information.
- Wait for TiviMate to load your playlist.
If TiviMate does not appear as expected on your particular Fire TV model, first verify that the device and app are compatible. Amazon notes that Fire TV devices differ in supported operating systems and app compatibility.
How to Set Up TiviMate With Your IPTV Service
Once TiviMate is installed, the next stage is the actual TiviMate IPTV setup.
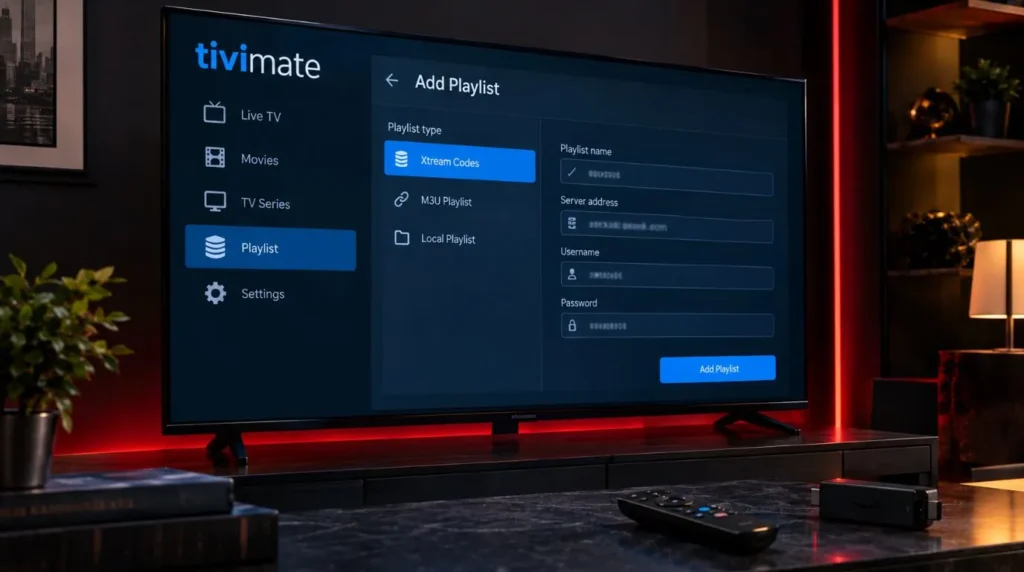
The two most common approaches are an Xtream Codes login and an M3U playlist.
Add an IPTV Playlist With Xtream Codes
If your provider gives you Xtream Codes-style credentials, you will typically receive:
- Server or portal URL
- Username
- Password
In TiviMate, select the option for adding a playlist and choose the Xtream Codes login method if it is available in your version.
Then:
- Enter the server address supplied by your provider.
- Enter your username.
- Enter your password.
- Confirm the information.
- Allow TiviMate to connect and retrieve the available data.
- Wait for the channel groups and other playlist information to load.
Take extra care when entering the server address. A missing character, extra space, or incorrect protocol can prevent the connection from working.
If your provider gives you a specific URL, use that URL exactly as supplied.
Add an M3U Playlist
Some IPTV services provide an M3U playlist instead of Xtream Codes credentials.
An M3U playlist is essentially a URL that points the IPTV player toward playlist information.
To add one:
- Open the playlist section in TiviMate.
- Choose the M3U playlist option.
- Enter the M3U URL provided by your IPTV service.
- Give the playlist a recognizable name if TiviMate asks for one.
- Confirm the entry.
- Wait for the playlist to load.
If the playlist contains a large number of channels, loading may take some time.
Do not replace a provider’s M3U address with a random URL found online. The playlist should come from a service you are authorized to use.
Check That Your Channels Have Loaded
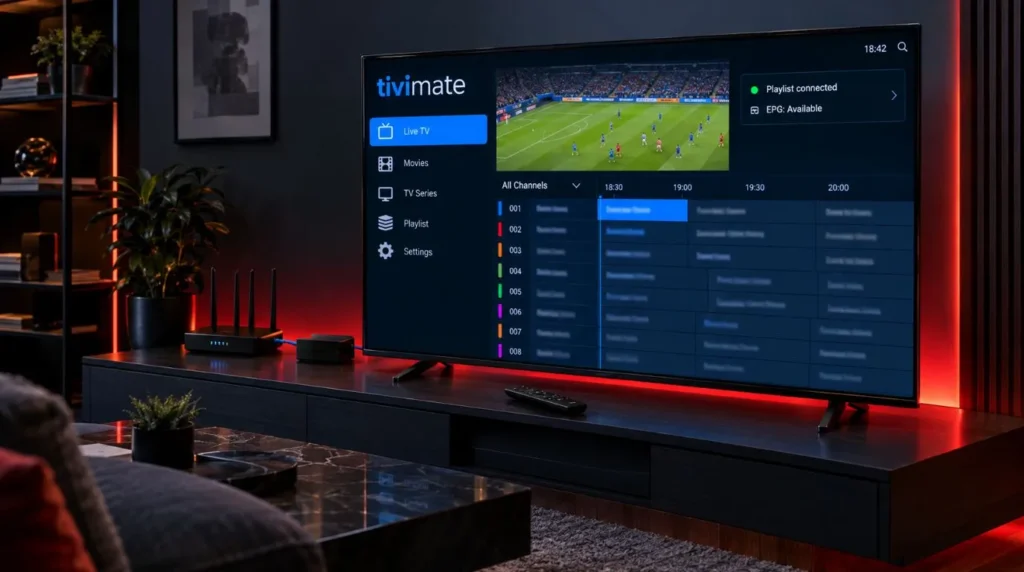
After the playlist has been processed, open the Live TV section.
A successful connection should give you access to the groups and channels included in your playlist.
Check several things:
- Channel groups are visible.
- Channel names appear correctly.
- At least one channel starts playback.
- The TV guide contains information if an EPG has been configured.
- Favorites and other organization features are available.
If the playlist loads but no channels appear, check the playlist address or login details before changing unrelated playback settings.
How to Configure the EPG in TiviMate
The EPG, or Electronic Program Guide, displays scheduled programming information alongside supported channels.
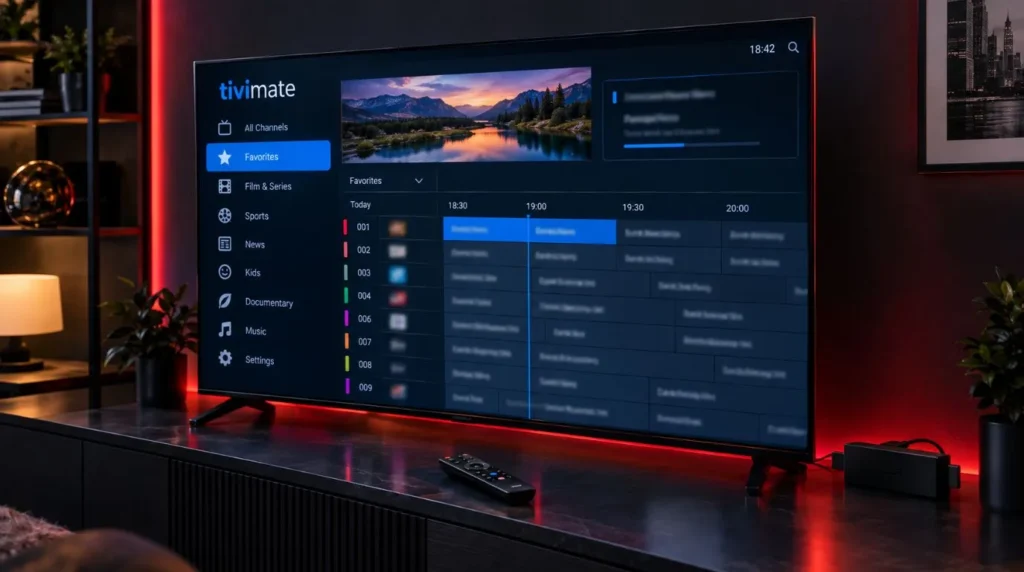
Your IPTV service may provide EPG data automatically, or it may provide a separate EPG URL.
If you receive a separate EPG URL, add it through TiviMate’s EPG settings according to the options shown in your current app version.
The general process is:
- Open TiviMate’s settings.
- Find the EPG section.
- Add the EPG source supplied by your provider.
- Save the source.
- Refresh or update the EPG data.
- Return to the TV guide and check whether program information appears.
If the guide remains empty, don’t immediately assume that the player is broken. The EPG source may be incorrect, unavailable, expired, or not properly associated with the channels in your playlist.
Why Your EPG May Not Match Every Channel
An EPG is only useful when its data corresponds with the channels in your playlist.
You may see:
- Some channels with guide data and others without it
- Incorrect program information
- Missing schedules
- Delayed updates
These issues can originate from the EPG source rather than TiviMate itself.
TiviMate Configuration: Settings Worth Checking
You do not need to change every setting after installation. A better approach is to configure the options that affect how you actually use the player.
Playlist and Channel Settings
Once your playlist works, spend a few minutes organizing it.
Useful options can include:
- Favorites
- Channel groups
- Hidden channels
- Playlist updates
- Channel organization
If your IPTV service provides hundreds or thousands of channels, favorites and groups can make everyday navigation considerably easier.
EPG Settings
After confirming that the guide works, review the available EPG update options.
Depending on your TiviMate version, you may be able to control when guide data is refreshed or updated.
There is no need to repeatedly refresh the EPG manually if the data is already updating correctly.
Playback Settings
Playback settings are worth reviewing only after basic playlist functionality has been confirmed.
Depending on the version and device, available options may relate to:
- Video decoding
- Audio decoding
- Buffer behavior
- Playback controls
- Hardware acceleration or decoding
Avoid copying a list of supposedly “best TiviMate settings” without considering the device being used. A setting that works well on one Android TV device may not produce the same result on another.
If playback is unstable, troubleshoot the actual cause instead of changing multiple settings at once.
Interface and Remote Settings
TiviMate is designed for television-style navigation, so small interface adjustments can make a difference.
Consider configuring:
- Guide navigation
- Channel switching behavior
- Favorites
- TV guide display
- Remote-control actions
Keep the first configuration simple. You can customize the interface further after you know that your playlist and playback are working correctly.
How to Organize Channels in TiviMate
A technically successful setup is only the beginning. A large IPTV playlist can become difficult to navigate if everything remains in its default state.
Use TiviMate’s organization features to create a more practical channel list.
Use Favorites for Frequently Watched Channels
Instead of scrolling through your entire playlist, add frequently watched channels to your favorites.
This is especially useful if your provider supplies a large number of channels.
Use Channel Groups
Groups can separate channels according to categories supplied by your IPTV service.
Depending on the playlist, you may see categories for different types of programming or regions.
You can then focus on the groups you actually use rather than navigating the entire playlist.
Hide Channels You Do Not Need
If your playlist contains channels you will never watch, hiding them can make the guide easier to navigate.
Do this selectively. If you later need a hidden channel, you can restore it through the relevant playlist or channel-management settings.
How to Test Your TiviMate IPTV Setup
Before considering the setup complete, run a quick check.
TiviMate Setup Checklist
- Playlist: Does the playlist load without errors?
- Channels: Are your expected channel groups visible?
- Playback: Does at least one live channel start normally?
- Audio: Can you hear the channel clearly?
- EPG: Does the TV guide display available program information?
- Navigation: Can you switch between channels and groups?
- Favorites: Can you add and access favorite channels?
- Stability: Does playback remain reasonably consistent?
Testing these elements separately makes troubleshooting much easier.
For example, if channels appear but do not play, the problem is different from a situation where the playlist itself cannot be loaded.
Common TiviMate Setup Problems and Fixes
TiviMate Shows No Channels
First check the information used to connect your playlist.
Verify:
- Server address
- Username
- Password
- M3U URL, if applicable
- Internet connection
- Playlist status with your IPTV provider
If the credentials are correct but the playlist still does not load, the issue may be on the provider side.
The EPG Is Not Loading
Check whether:
- The EPG URL is correct
- The EPG source was saved
- The guide has been refreshed
- The EPG corresponds to your playlist
- Your provider actually supplies EPG data
If only certain channels lack guide information, the issue may be incomplete EPG data rather than a TiviMate configuration error.
Channels Load but Do Not Play
When the playlist appears correctly but playback fails, check:
- Whether your internet connection is working normally.
- Whether multiple channels have the same problem.
- Whether the IPTV service itself is available.
- Whether another device can access the same service.
- Whether the available playback or decoder settings are compatible with your device.
Avoid changing several playback settings simultaneously. Make one change at a time so you can identify what actually affects playback.
TiviMate Keeps Buffering
Buffering can have several causes, including the network connection, Wi-Fi conditions, device performance, or the IPTV stream itself.
Start with basic checks before changing advanced TiviMate settings:
- Test another channel.
- Check whether the issue affects every channel.
- Restart the streaming device.
- Check the network connection.
- If possible, compare Wi-Fi with a wired connection.
- Determine whether the problem occurs at different times.
For a broader diagnosis, use ViviMate’s dedicated IPTV buffering guide rather than treating every buffering problem as a TiviMate configuration issue.
Playlist or EPG Updates Are Not Working
If previously working data stops updating, check whether your IPTV provider has changed its playlist or EPG information.
A provider may change:
- Server addresses
- Playlist URLs
- Credentials
- EPG sources
If you received updated information from your provider, replace the old information rather than repeatedly retrying the previous configuration.
TiviMate for Windows: What You Need to Know
If you searched for TiviMate for Windows, there is an important platform distinction to understand.
TiviMate is designed around television-oriented Android environments rather than functioning as a conventional native Windows IPTV application. Fire TV also has its own platform variations: Amazon states that Fire TV has historically used Fire OS, while newer Fire TV hardware is moving to Vega OS.
That means you should not assume that instructions written for Android TV or Firestick will translate directly into Windows.
If your main device is a Windows PC, consider whether you specifically need TiviMate or simply need an IPTV player compatible with Windows. For device-specific IPTV setup guidance, the appropriate solution may be different from the Android TV workflow described above.
When Your TiviMate Setup Is Complete
A successful setup does not require changing dozens of settings.
The essential workflow is:
Install TiviMate → add your IPTV playlist → verify channels → configure EPG → organize favorites and groups → test playback.
If everything works at that point, leave advanced settings alone until you have a specific reason to change them.
TiviMate’s role is to provide the player and interface. Your IPTV provider remains responsible for the service data, playlist, credentials, and any EPG information it supplies.
If you want to continue with the broader device installation process, visit ViviMate’s IPTV installation guide. If you’re still deciding which player fits your setup, you can also explore the site’s IPTV player guide.